 Save
Save My kitchen drawer where vegetable scraps live used to feel like a small failure—carrot peels, onion skins, celery ends all destined for the trash until a friend mentioned she'd been making broth from them. I stood at my counter that evening, suddenly seeing those trimmed bits as potential instead of waste, and decided to try. That first pot of simmering scraps filled my kitchen with an aroma so clean and layered that I realized I'd been missing something essential all along, something that costs almost nothing but tastes like careful attention.
I made this for my partner on a cold Tuesday when we were both tired, and instead of ordering soup, I poured two warm cups of this broth and we sat at the kitchen table just talking. There was something about holding that mug that made the evening feel less rushed, less like we were failing at dinner and more like we were tending to something that mattered. That's when I understood this recipe wasn't really about efficiency or frugality—it was about creating something nourishing from what you already have.
Ingredients
- Vegetable Scraps (4 cups assorted trimmings): Carrot peels, onion skins, celery ends, leek tops, and mushroom stems are your foundation—save them as you prep other meals and keep them in a bowl in your fridge until you're ready to make broth.
- Bay Leaf (1): This single leaf transforms the broth with subtle earthiness; don't skip it even though it seems small.
- Black Peppercorns (5–7): Whole peppercorns deliver flavor more gently than ground pepper, which would make your broth cloudy.
- Garlic (2 cloves, crushed, optional): Crushing the cloves releases more flavor without needing to peel them; the skins add color and depth.
- Salt (1 teaspoon, optional): Add this conservatively since you may use the broth in other recipes where salt matters; you can always add more later.
- Fresh Thyme or Dried (1 sprig or 1/2 teaspoon, optional): Thyme gives the broth a quiet herbaceous note that feels intentional without overpowering.
- Cold Water (8 cups): Starting with cold water allows flavors to extract slowly and evenly as everything heats together.
Tired of Takeout? 🥡
Get 10 meals you can make faster than delivery arrives. Seriously.
One email. No spam. Unsubscribe anytime.
Instructions
- Gather Your Scraps:
- Collect clean vegetable trimmings in a bowl as you prepare other meals—save carrot peels, onion skins, celery ends, leek greens, parsley stems, garlic skins, and mushroom stems. Avoid potato peels, cruciferous vegetables like broccoli or cabbage, and very starchy items as they cloud the broth or add unwanted bitterness.
- Combine Everything in the Pot:
- Place your gathered scraps into a large stockpot along with the bay leaf, peppercorns, optional garlic, salt, and thyme. The pot will look quite full at first, but the vegetables will soften and release liquid as they cook.
- Cover with Cold Water:
- Pour 8 cups of cold water over everything, making sure all the scraps are submerged beneath the surface. Cold water allows a slower extraction of flavors, creating a cleaner, more refined broth than starting with hot water.
- Bring to a Gentle Boil:
- Set the heat to medium-high and let the water come to a rolling boil; you'll see this happen in about 10 minutes. Once it reaches a boil, immediately reduce the heat to low or medium-low so the broth simmers gently rather than aggressively bubbling.
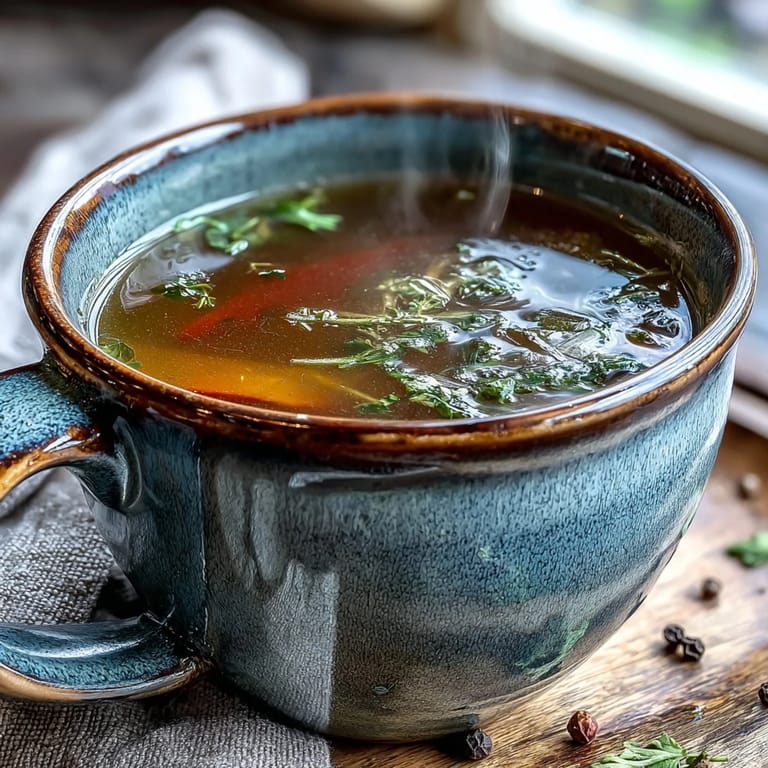
- Simmer and Skim:
- Let the broth simmer uncovered for 45 to 60 minutes, occasionally skimming off any gray or white foam that rises to the surface with a small ladle or spoon. This foam is just impurities and proteins; removing it keeps your broth clear and refined.
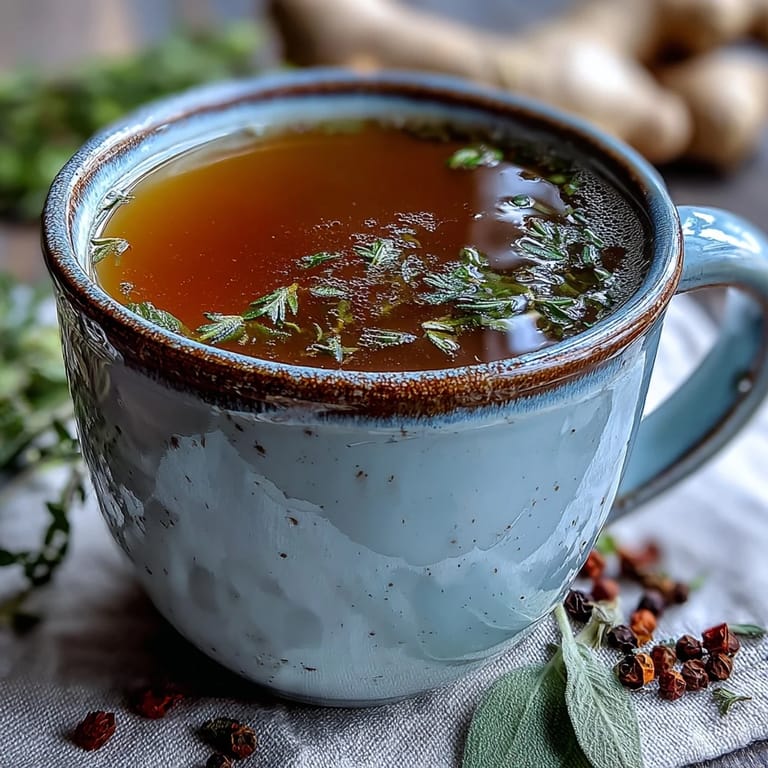
- Taste and Season:
- After about 50 minutes, taste a small spoonful and adjust the salt and seasonings if needed; remember you can always add more salt later if you're using this for other recipes. The broth should smell noticeably aromatic and feel complete.
- Strain into a Clean Container:
- Place a fine-mesh sieve or cheesecloth over a clean pot or large bowl and carefully pour the broth through, letting the liquid drain while catching all solids. Discard the strained vegetables and aromatics; they've given everything they have.
- Cool and Store:
- Let the broth cool to room temperature, then transfer to airtight containers and refrigerate for up to 5 days or freeze for up to 3 months. Frozen broth defrosts beautifully and tastes just as good as fresh.
 Save
Save My mother called one afternoon while I was straining a batch, and I told her about this broth, and she went silent for a moment before saying she used to do something similar when money was tight, but she'd stopped when she didn't need to anymore. We talked for an hour about all the small rituals we'd abandoned, and she asked if I could teach her this again. Making broth became our thing after that—a monthly conversation happening in our respective kitchens, connected by the same gentle heat and the same gratitude for what we'd almost thrown away.
Why Roasting Changes Everything
The first time I roasted my vegetable scraps before simmering them, I couldn't believe the difference—the broth became deeper, richer, almost caramelized in flavor. Spread your scraps on a baking sheet, drizzle lightly with a bit of oil if you like, and roast at 400°F (200°C) for about 20 minutes until they're lightly browned and smell incredible. This step takes an extra 20 minutes but elevates the broth from simple to something you'd serve intentionally, not just use as a base.
Making It Even More Umami-Rich
If you want to push the broth into deeper, savory territory, add a small piece of kombu (dried seaweed) or a dried mushroom during simmering. These ingredients don't make the broth taste fishy or mushroomy—they just add an underlying richness that makes soups and grains taste more developed and satisfying. I discovered this almost by accident when I found an old piece of kombu in my pantry, and now I rarely make broth without it.
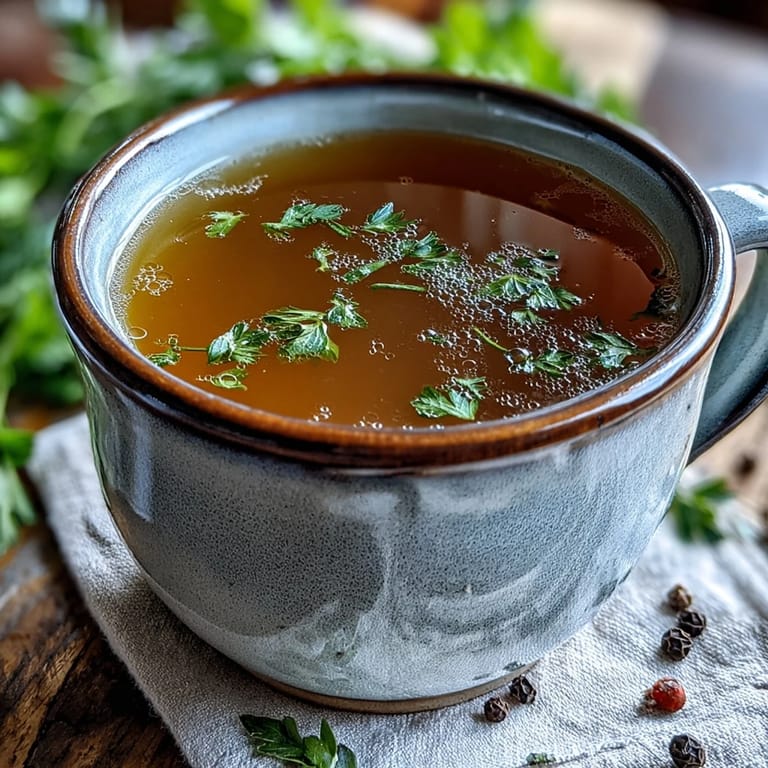
What to Do With Your Finished Broth
This broth is versatile in ways that feel limitless once you start using it. Serve it warm in a mug on quiet mornings, use it as the foundation for any soup or stew, cook your grains and risotto in it instead of water, or freeze it in ice cube trays so you always have small amounts ready. The low sodium means you can control the salt in whatever you're making, which matters more than you'd think.
- Freeze broth in ice cube trays, then transfer the cubes to freezer bags so you have small portions ready for any recipe that needs just a little.
- Use within 5 days of refrigerating or within 3 months of freezing for best flavor and food safety.
- Keep a container in your fridge during cooking season so you can grab it whenever you need warmth or depth in a dish.
 Save
Save Every time I make this broth, I think about how waste was simply a frame of mind—a choice to see potential instead of trash. This recipe quietly teaches that generosity and resourcefulness aren't about deprivation; they're about paying attention to what you already have and trusting that it's enough.
Common recipe questions
- → What vegetables work best for homemade broth?
Carrot peels, onion skins, celery ends, leek tops, mushroom stems, and parsley stems create the most balanced flavor profile. These aromatics provide depth without overpowering the natural sweetness.
- → Why should I avoid potato peels and brassicas?
Potato peels add an unpleasant starchiness and cloudiness, while brassicas like broccoli and cabbage can introduce bitterness. Both disrupt the clean, delicate balance you want in a versatile base.
- → How long can I store this in the refrigerator?
Properly cooled and sealed in airtight containers, your homemade creation stays fresh for up to 5 days in the refrigerator. For longer storage, freeze in portion-sized containers for up to 3 months.
- → What's the purpose of roasting scraps first?
Roasting vegetable trimmings at 200°C (400°F) for 20 minutes caramelizes their natural sugars, creating deeper, more complex flavors. This extra step transforms light and delicate into rich and robust.
- → Can I make this without salt?
Absolutely—omitting salt gives you complete control over seasoning when using it as a base. The natural vegetable flavors shine through, allowing you to adjust sodium levels according to your final dish.
- → What gives this extra umami depth?
Adding a small piece of kombu seaweed or dried mushrooms during simmering introduces natural glutamates. This elevates the savory profile without needing artificial enhancers or excessive salt.