 Save
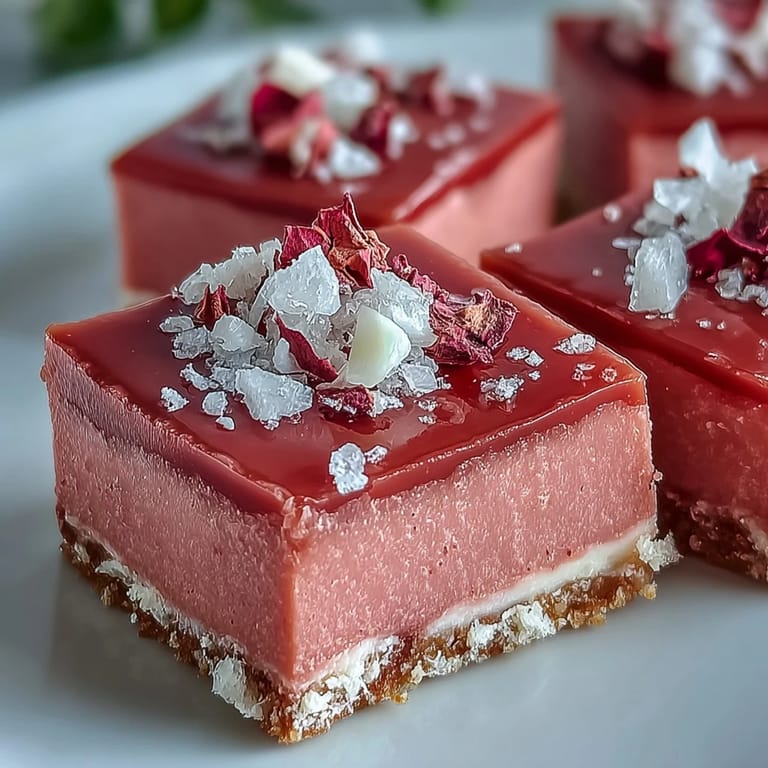
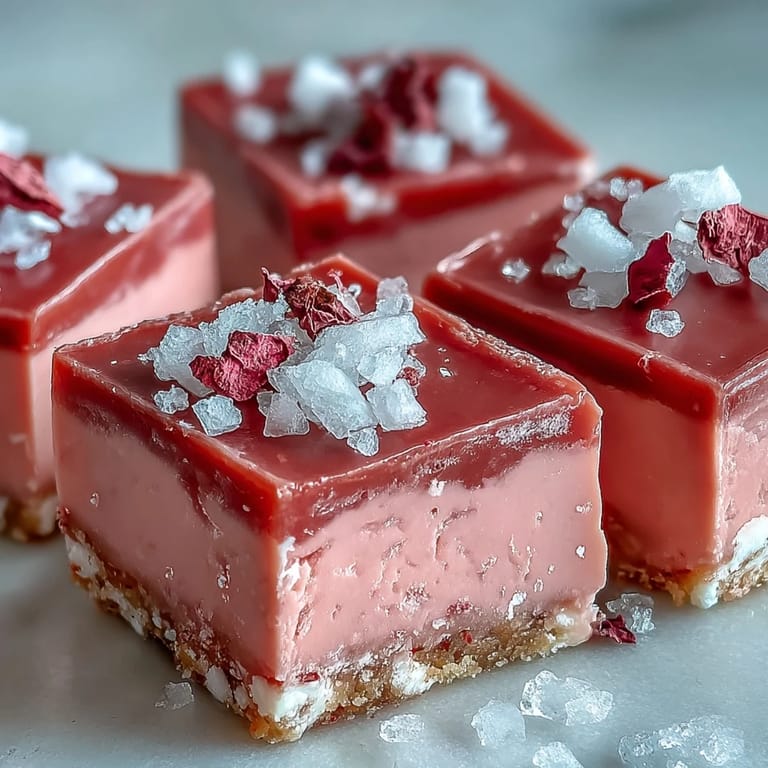
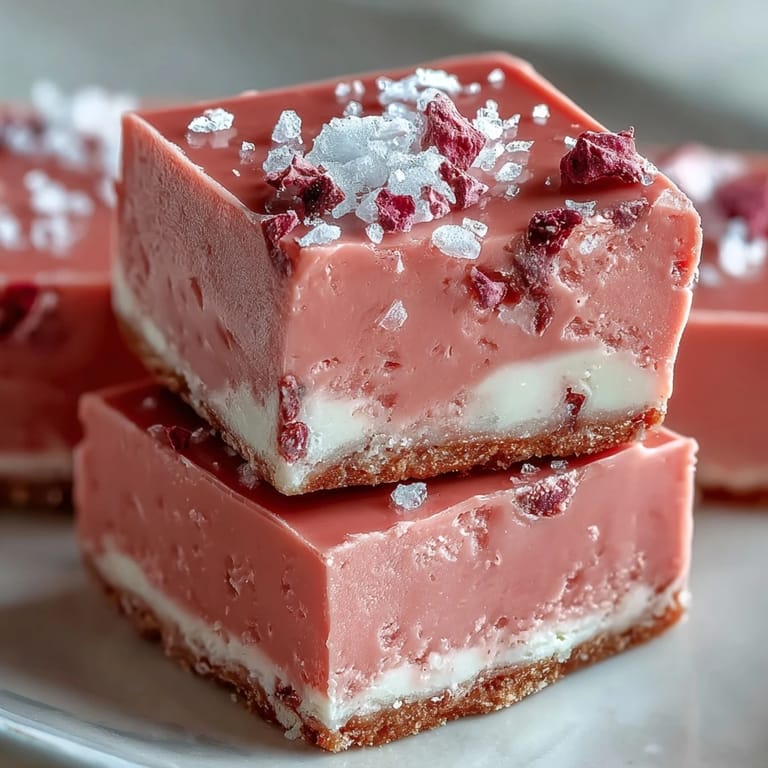
Save My neighbor dropped off a basket of strawberries one June afternoon, far more than I could eat fresh. I hate wasting fruit, so I tossed half in the dehydrator without any real plan. A week later, those papery pink chips sat in a jar on my counter, and I remembered a fudge recipe I'd bookmarked months earlier. I ground the strawberries into powder, folded it into melted white chocolate, and pressed the whole thing over a buttery crust. The kitchen smelled like summer candy, and I knew I'd stumbled onto something special.
I brought a tray to a book club meeting once, and three people asked if I'd used a secret berry liqueur. Nope, just concentrated strawberry powder doing all the work. One friend who claims she doesn't like white chocolate ate four squares and texted me the next morning asking for the recipe. That's when I realized this wasn't just a convenient dessert, it was a little pink showstopper that made people rethink what no-bake could be.
Ingredients
- Digestive biscuits or graham crackers: These form the crunchy base, and the slightly sweet, slightly salty flavor keeps the fudge from feeling too rich. Crush them finely so the crust holds together without crumbling when you slice.
- Unsalted butter: Melted butter binds the crumbs into a solid layer. I prefer unsalted so I can control the saltiness, especially since some crackers are already salted.
- White chocolate chips: The creamy backbone of the fudge layer. Use real white chocolate with cocoa butter, not coating wafers, or the texture will turn waxy.
- Sweetened condensed milk: This thick, sugary milk melts into the chocolate to create that classic fudge consistency. It also adds a gentle caramel undertone that balances the berries.
- Freeze-dried strawberries: Ground into powder, they pack intense fruit flavor without extra liquid. You can also use strained fresh purée, but the color and tang won't be quite as vivid.
- Pure vanilla extract: A teaspoon rounds out the sweetness and makes the strawberry flavor taste more complex and natural.
- Pinch of salt: Just a tiny pinch cuts through the sugar and makes every other flavor pop.
- Pink or red gel food coloring: Totally optional, but a drop or two turns the fudge into a brilliant pink that looks as fun as it tastes.
Tired of Takeout? 🥡
Get 10 meals you can make faster than delivery arrives. Seriously.
One email. No spam. Unsubscribe anytime.
Instructions
- Prep the pan:
- Line your square pan with parchment, letting the paper hang over two opposite sides like handles. This makes lifting out the finished fudge a breeze and saves you from prying at stubborn corners.
- Make the crust:
- Stir crushed biscuits and melted butter until every crumb is coated and the mixture clumps when you squeeze it. Press it firmly and evenly into the pan, then chill for 10 minutes so it sets up before you add the fudge.
- Melt the chocolate:
- Set a heatproof bowl over simmering water and add white chocolate and condensed milk. Stir gently and constantly until the chocolate melts into a smooth, glossy pool.
- Flavor the fudge:
- Take the bowl off the heat and stir in strawberry powder, vanilla, salt, and food coloring if you're using it. Mix until the color is uniform and the powder is fully dissolved.
- Assemble and chill:
- Pour the pink fudge over the chilled crust and spread it to the edges with a spatula. Cover loosely and refrigerate for at least 2 to 3 hours, until the top feels firm when you tap it lightly.
- Slice and garnish:
- Lift the whole slab out using the parchment overhang, then cut into 16 squares with a sharp knife. Wipe the blade between cuts for clean edges, and top each square with a fresh strawberry slice or a sprinkle of freeze-dried crumbles.
 Save
Save My daughter asked if she could bring these to her school bake sale, and I watched a line form at her table within minutes. Kids loved the color, parents loved that they tasted like real fruit, and I loved that I didn't have to turn on my oven in the middle of May. She came home with an empty pan and a request to make them again for her birthday. That's when I knew this recipe had earned a permanent spot in our rotation.
Choosing Your Strawberry Base
Freeze-dried strawberries give you the brightest color and the most concentrated flavor, and they don't add any moisture that could soften the fudge. You can find them in the snack aisle or near the dried fruit. If you go with fresh purée instead, strain out the seeds and cook it down for a few minutes to evaporate some water, or your fudge might stay soft and sticky even after hours in the fridge. I've done both, and while fresh tastes lovely, freeze-dried delivers that punch of berry flavor that makes people ask what your secret is.
Perfecting the Texture
The key to fudge that slices cleanly and melts on your tongue is patience. Let it chill completely before you try to cut it, and use a sharp knife warmed under hot water and wiped dry between each slice. If your fudge feels too firm straight from the fridge, let it sit on the counter for about 10 minutes before serving. The texture will soften just enough to feel creamy instead of waxy. I learned this after serving rock-hard squares to guests once, they were polite, but I could see them struggling.
Make-Ahead and Storage Tips
These squares keep beautifully in the fridge for up to five days, stacked between sheets of parchment in an airtight container. They also freeze well for up to a month, just thaw them in the fridge overnight before serving. I like to make a double batch and freeze half, so I always have a dessert ready when plans change or surprise guests show up. Just remember to bring them to the table a few minutes early so they're not too cold to enjoy.
- Store in a single layer or separated by parchment to prevent sticking.
- Let frozen squares thaw in the fridge, not on the counter, to avoid condensation.
- Garnish with fresh fruit right before serving, not during storage, or it will weep and make the tops soggy.
 Save
Save Every time I make these, someone asks if they're complicated, and I love saying no. They're proof that simple ingredients and a little patience can create something that feels indulgent and homemade without any fuss.
Common recipe questions
- → Can I use fresh strawberries instead of freeze-dried?
Yes, you can substitute with 100g of fresh strawberries that have been puréed and strained to remove seeds. However, freeze-dried strawberries provide more concentrated flavor and won't add extra moisture to the fudge.
- → How long do these squares need to chill?
The fudge layer needs at least 2-3 hours in the refrigerator to set properly and become firm enough to slice cleanly. For best results, chill for the full 3 hours or even overnight.
- → Can I make these dairy-free?
Absolutely! Simply substitute dairy-free white chocolate and coconut condensed milk for the regular versions. Make sure to also use dairy-free butter or coconut oil for the crust.
- → Why should I wipe the knife between cuts?
Wiping the blade clean between each cut ensures neat, professional-looking squares with smooth edges. The fudge won't drag or smear, giving you perfectly defined portions.
- → How should I store leftover squares?
Store the squares in an airtight container in the refrigerator for up to 5 days. Stack them with parchment paper between layers to prevent sticking. Let them sit at room temperature for 10 minutes before serving for a softer texture.
- → What can I use instead of digestive biscuits?
Graham crackers are the perfect substitute and are commonly used in American desserts. You can also use vanilla wafers or any plain crisp cookie that crushes into fine crumbs.