 Save
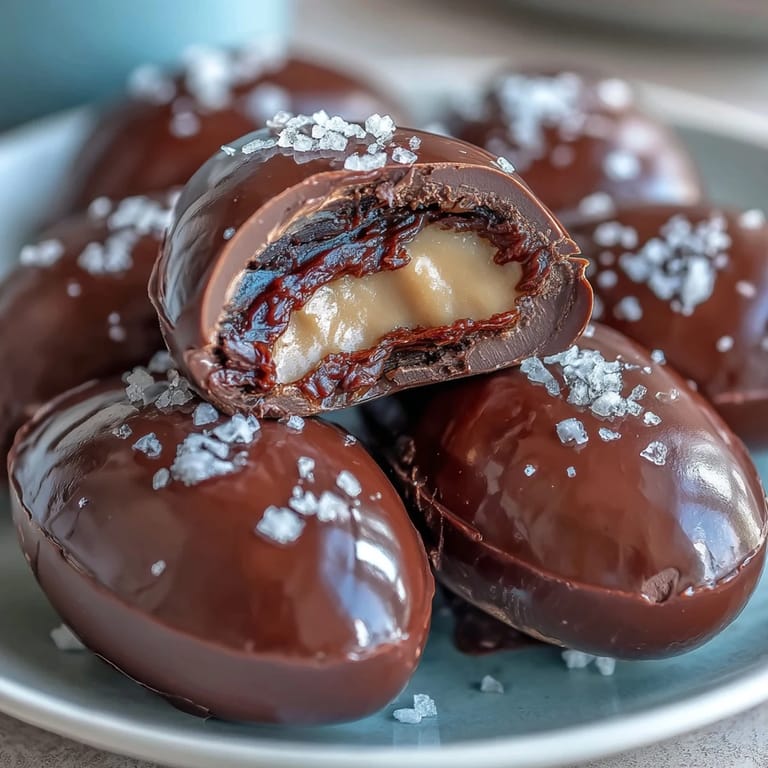
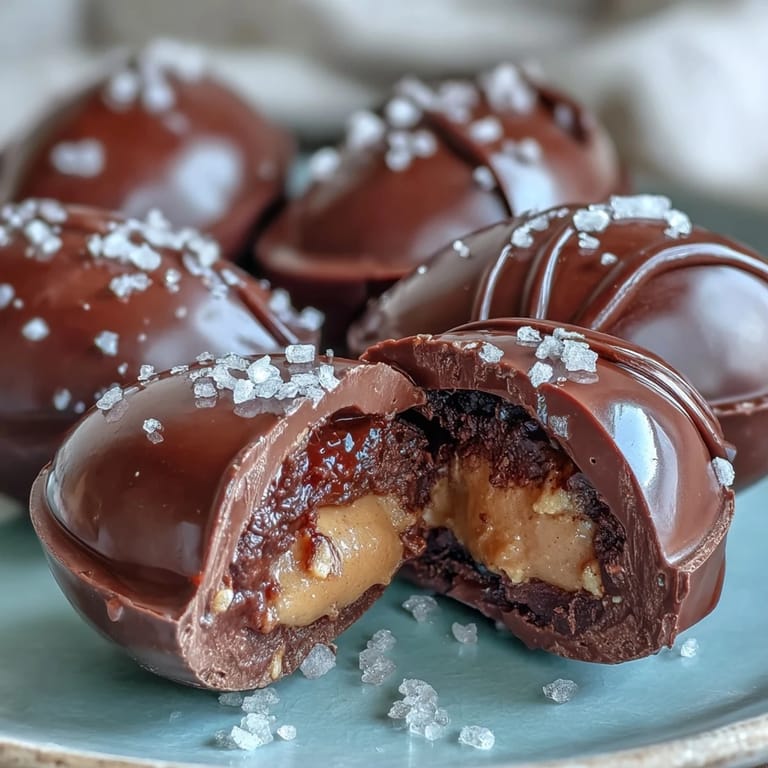
Save The scent of melted dark chocolate always manages to turn my kitchen into a magnet for curious noses. When I first tried making my own peanut butter Easter eggs, it was more about late-night experimentation than a holiday project — and the unexpected crunch of salt on top genuinely made me pause, laugh, and jot down notes mid-bite. I remember the sticky fingers, the quiet hum of my fridge, and the way those little eggs looked so cheerful on parchment. There's something gratifying about shaping a treat by hand, especially when you know every peanut butter-packed center is yours to sample. It's as therapeutic as it is delicious.
One spring morning, my neighbor popped in and saw a tray of chocolate eggs lined up like little soldiers. She insisted on 'helping' with the dipping, and our laughter echoed through my tiny kitchen as we made creative, slightly lopsided shapes. We called them "Easter ovals" and shared them with her kids — who didn't care about the shape but devoured them with sticky smiles. That's when these eggs went from a solo project to a communal ritual. I still crack a grin thinking about our improvised assembly line.
Ingredients
- Creamy peanut butter: It brings both flavor and structure to the filling, and using a natural style can give a deeper peanut taste but be mindful of oil separation.
- Unsalted butter: Melted just soft enough, it makes the filling smooth and the eggs easier to shape.
- Powdered sugar: This gives the filling its sweetness and helps keep it firm after chilling.
- Pure vanilla extract: A dash will lift the flavor and make the peanut butter pop.
- Fine sea salt: Just a pinch keeps the sweetness from going overboard.
- Dark chocolate (60–70% cocoa): Use a quality bar for best melt and richness; chopping helps it melt evenly.
- Coconut oil (optional): A tablespoon makes the chocolate smoother for dipping and gives a glossy finish.
- Flaky sea salt: Sprinkle right before the chocolate sets — it’s the magic touch.
Tired of Takeout? 🥡
Get 10 meals you can make faster than delivery arrives. Seriously.
One email. No spam. Unsubscribe anytime.
Instructions
- Prepare Your Workspace:
- Line a baking sheet with parchment paper, and gather your tools so you don't have to hunt for anything mid-chocolate dip.
- Mix the Filling:
- Add peanut butter, softened butter, powdered sugar, vanilla, and a pinch of salt to a bowl. Stir until it's thick, creamy, and temptingly rich — the aroma alone is irresistible.
- Shape the Eggs:
- Scoop roughly two tablespoons of the mixture and shape it into egg forms with your hands. Nestle each one onto the parchment, and repeat until the bowl is empty.
- Chill Your Creations:
- Pop the tray in your freezer for 30 minutes so the eggs firm up, which makes dipping far less messy.
- Melt the Chocolate:
- Combine chopped chocolate and coconut oil in a heatproof bowl. Either microwave in short bursts or use a double boiler, stirring until it's silky and smooth.
- Dip the Eggs:
- Using a fork, gently lower each peanut butter egg into the melted chocolate and coat evenly. Let the excess drip before returning each egg to the sheet.
- Add the Finishing Touch:
- Sprinkle with flaky sea salt immediately while the chocolate is still shiny. It makes every egg look (and taste) more special.
- Set and Serve:
- Refrigerate for 15 minutes to set the chocolate. Enjoy chilled, straight from the fridge, or let them warm to room temperature for a softer bite.
 Save
Save The first batch I handed out at my family’s Easter brunch disappeared in minutes, and the quiet satisfaction of seeing a platter emptied was worth every sticky-fingered minute. Those chocolate eggs became shorthand for celebration, and I’m still asked each year if they’ll make another appearance.
Choosing Your Chocolate for Dipping
After a few trials, I found that bars melt smoother than chocolate chips, and going for 60-70% cocoa makes the flavor deep without being bitter. If you use coconut oil, your chocolate will be glossy and easier to work with, but skip it if you like a thicker shell.
Crafting the Perfect Peanut Butter Filling
Creamy peanut butter works best, but if you want crunch, swap in a textured variety or add chopped nuts. Softening the butter just enough helps everything blend, but avoid melting it completely or your mixture might become too loose to shape.
How to Store and Share These Eggs
If you tuck your finished eggs into a box lined with baking paper, they’ll hold their shape and make a pretty gift. These store well in the fridge for up to a week, and freezing lets you save a stash for surprise visits.
- Make sure the eggs are fully set before stacking them.
- Always use airtight containers for best freshness.
- Don’t forget to label so they’re not mistaken for mysterious leftovers.
 Save
Save Homemade Easter eggs are a small joy, whether for sharing or savoring on your own. I hope your kitchen is filled with smiles and chocolate smudges when you make them.
Common recipe questions
- → How do I achieve a smooth chocolate coating?
Melt chocolate gently and stir in coconut oil for a shiny, smooth finish. Dip chilled eggs with a fork for even coverage.
- → Can crunchy peanut butter be used?
Yes, swapping creamy with crunchy peanut butter adds pleasing texture to the centers of each egg.
- → How should these eggs be stored?
Keep them in an airtight container in the refrigerator for up to one week, or freeze for two months for longer enjoyment.
- → What tools are needed for preparation?
You’ll need a mixing bowl, hand mixer or spoon, parchment-lined baking sheet, fork, and a microwave or double boiler.
- → Is this treat gluten-free?
Yes, using certified gluten-free ingredients ensures these eggs are safe for gluten-sensitive individuals.